Connecting to the Web Manager
STEP 1: CONNECT TO WEB MANAGER AND CONFIGURE EUROPEAN UNION COMPLIANCE & PASSWORD
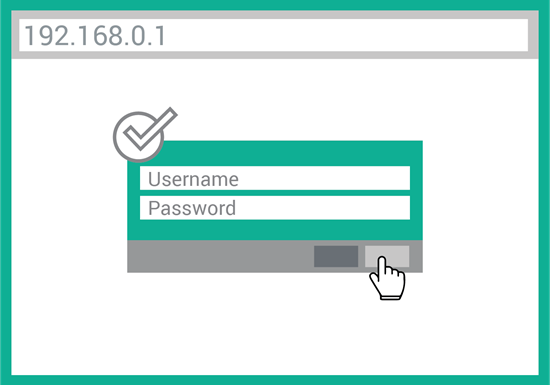
Connect to the network using the unique SSID. The SSID format is xPico600_XXXXXX, where XXXXXX refers to the last 6 digits of the serial number printed on the module. Enter the default SSID passphrase: PASSWORD.

Connect to 192.168.0.1 using your web browser. The default Username = admin and Password = PASSWORD (both case sensitive). Alternatively, you can connect to xpico600.lantronix.com.
Configure security compliance settings for the user admin account.
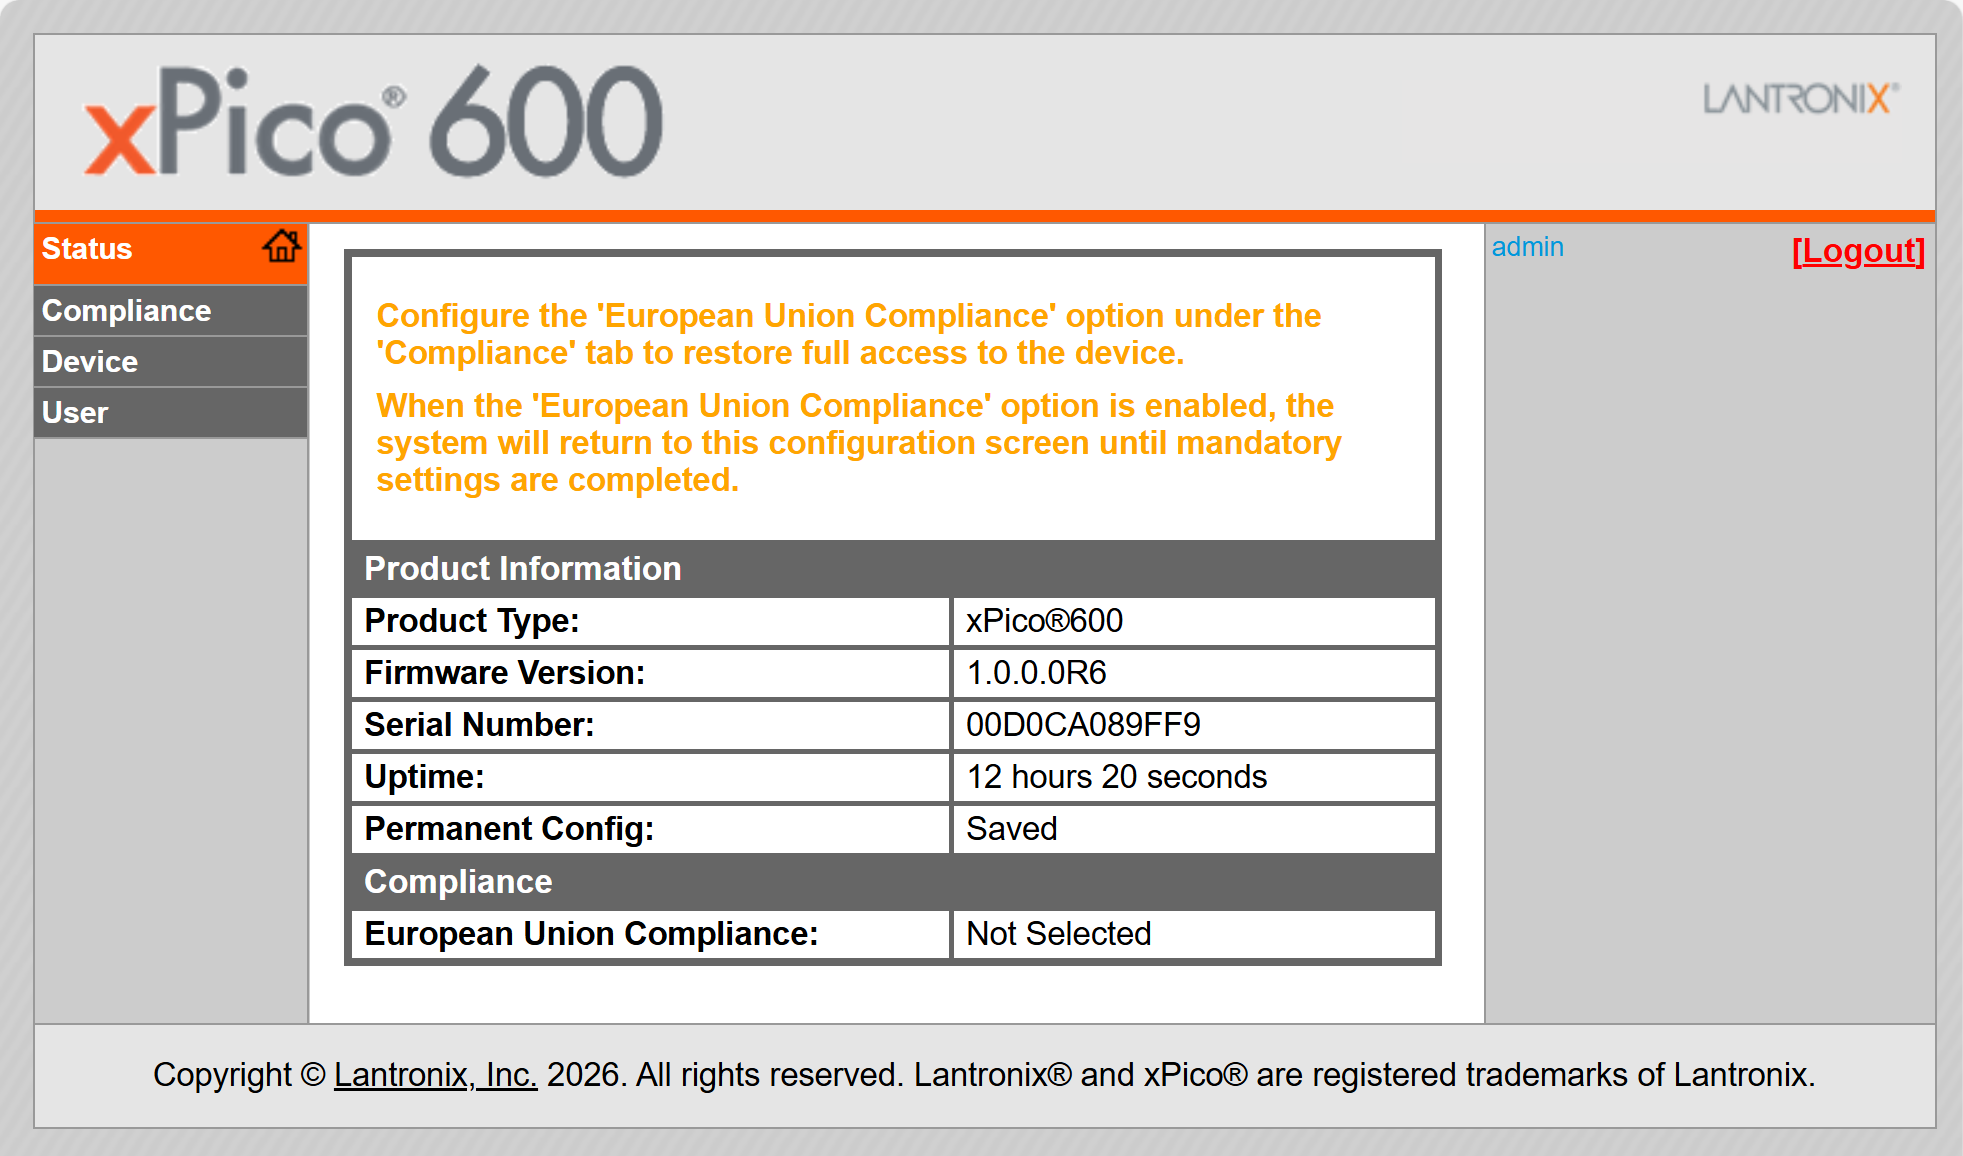
From the above screen, click Compliance, then click Configuration.
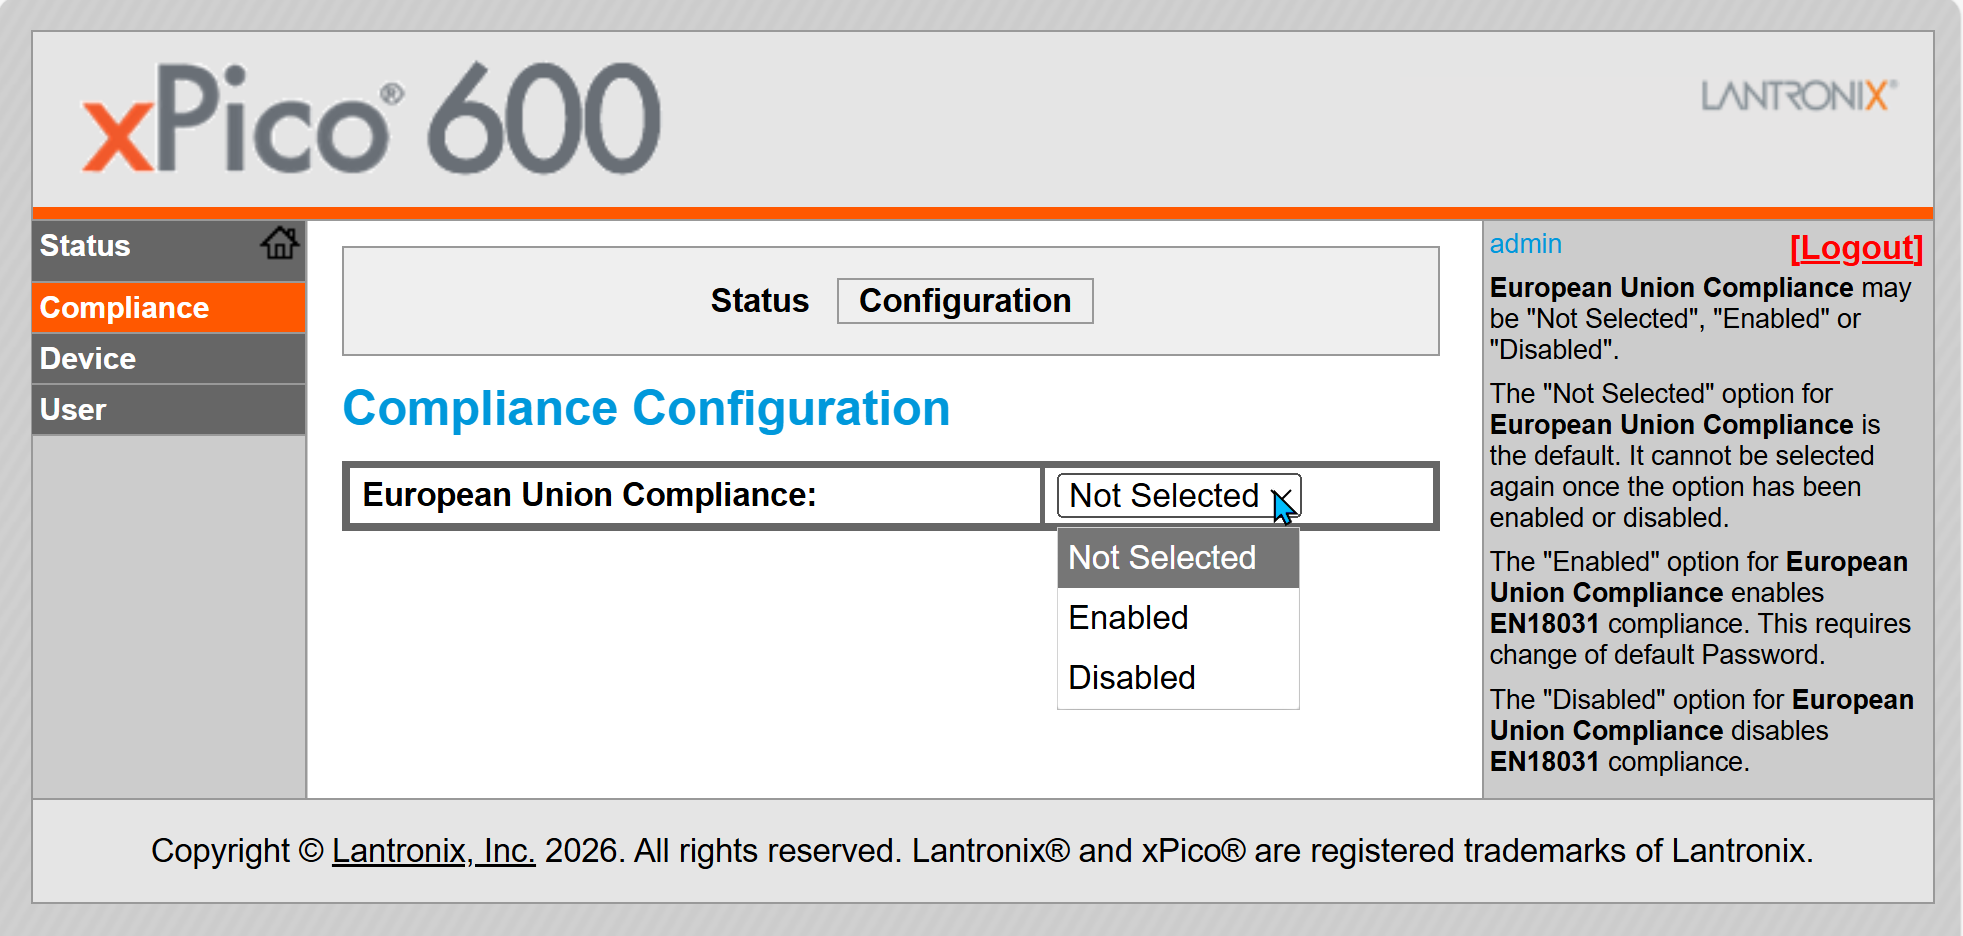
Compliance Configuration Settings
| European Union Compliance Setting | Description |
|---|---|
| Not Selected | "Not Selected" is the default EU Compliance setting. If this setting is enabled or disabled, "Not Selected" cannot be selected again. If European Union Compliance is Not Selected, rebooting the device will return you to the Compliance Configuration screen shown above. |
| Enabled | Enables EN18031-1:2024 compliance. If enabled, the default password MUST be changed. If European Union Compliance is Enabled but the admin password has not been changed, rebooting the device will return you to the Compliance Configuration screen shown above. |
| Disabled | Disables EN18031-1:2024 compliance. If European Union Compliance is Disabled, changing the password is not mandatory; rebooting the device will allow you to proceed with the initial configuration described in Step 2 below. |
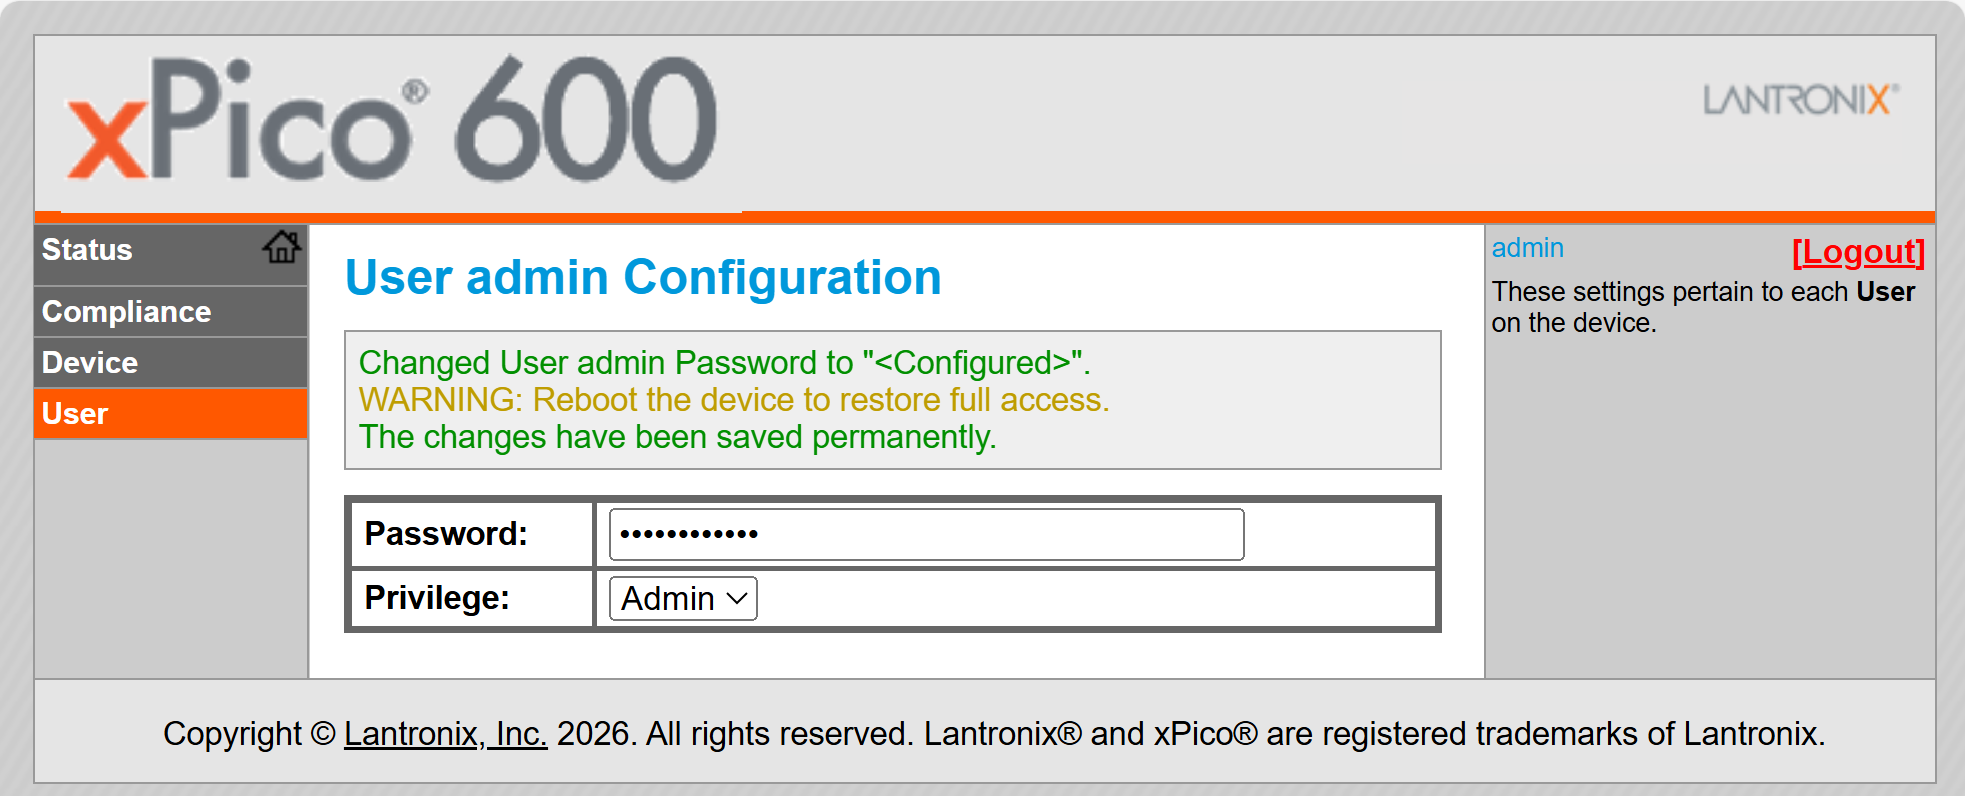
Once European Union compliance is Enabled, click User, then select the "admin" account to change the admin password. If the password is not sufficiently strong, you will see the following error message:
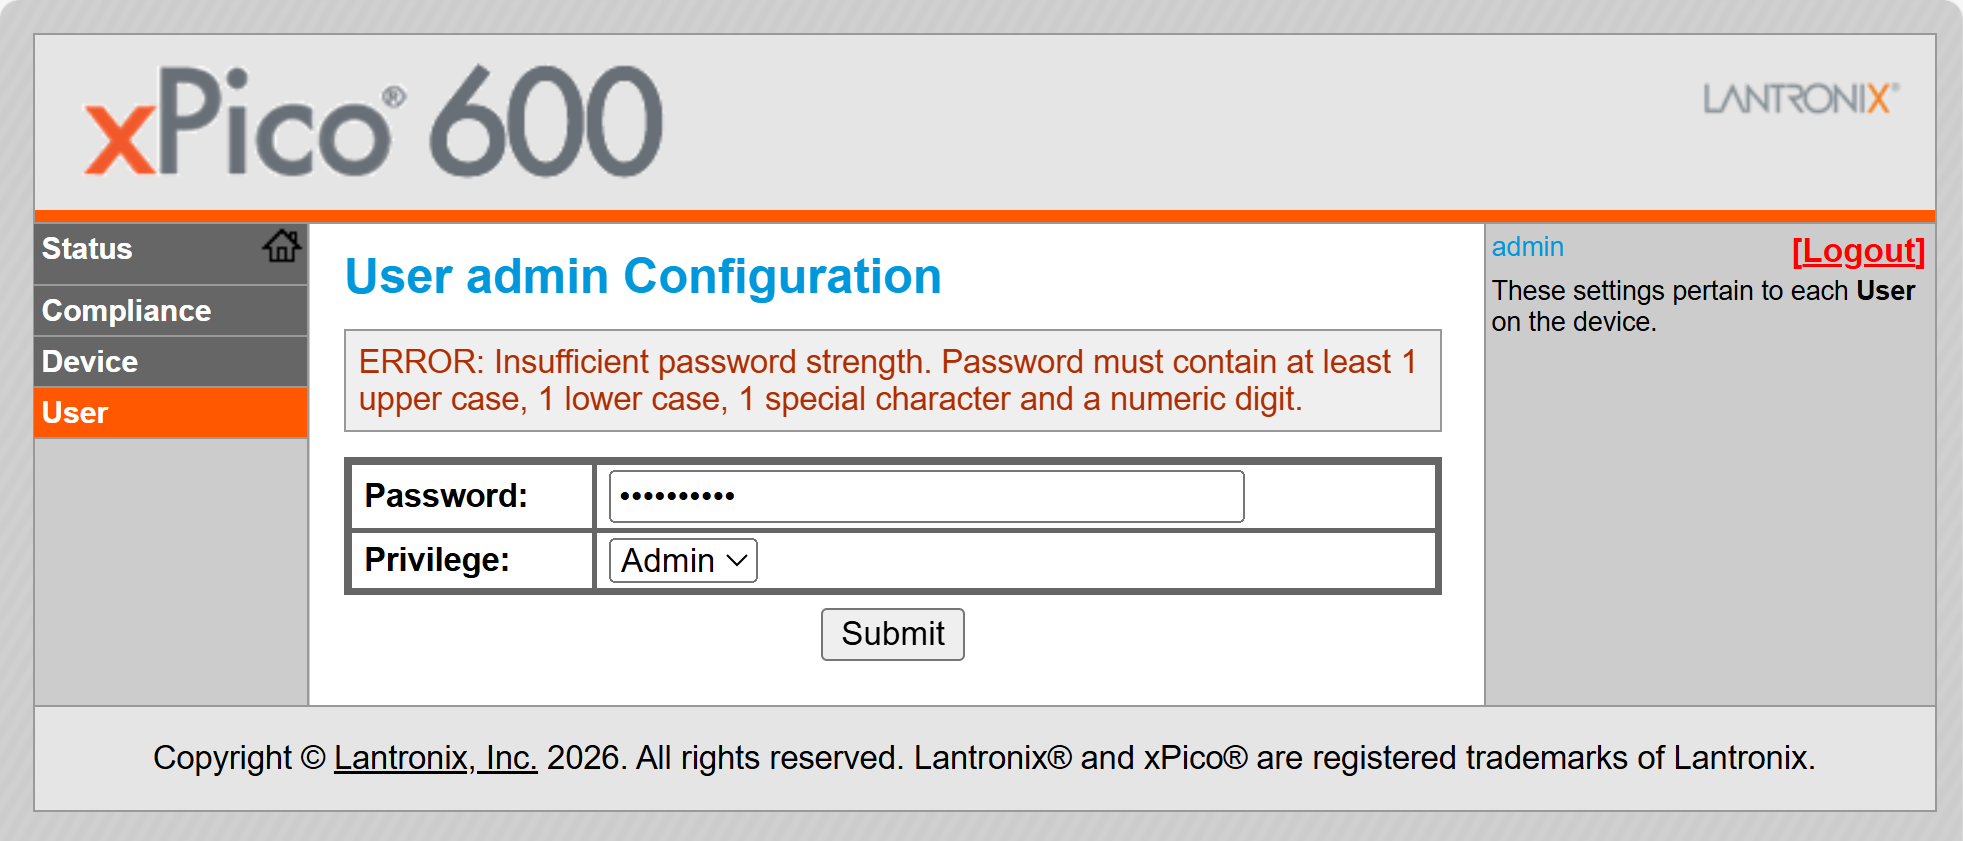
If the password is sufficiently strong, you will see the following; reboot the device to proceed to initial configuration described in Step 2 below:
STEP 2: INITIAL CONFIGURATION
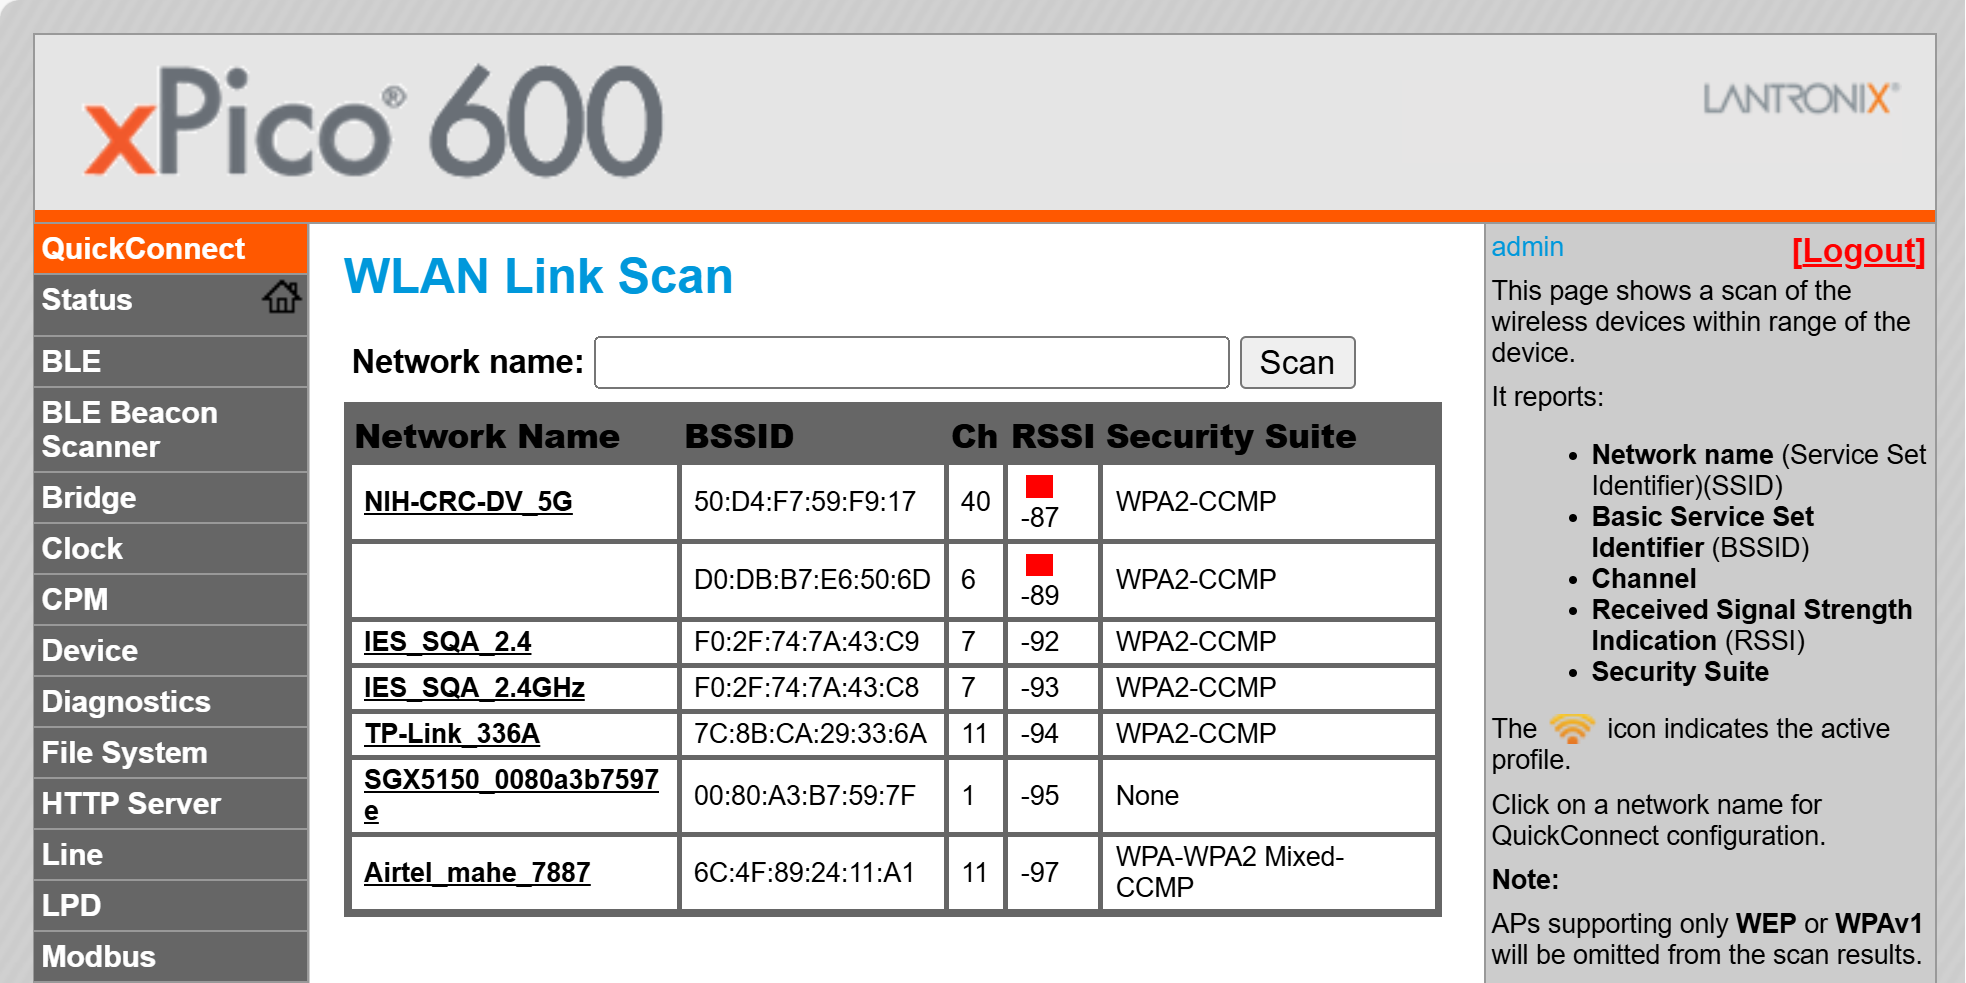
Once you are logged in, click Quick Connect to continue with the configuration of the xPico 600 gateway and connect to the Wi-Fi network.
On the Quick Connect page, the wireless client interface can be configured. You can connect the xPico module to a network from the list of available wireless networks.
STEP 3: COMPLETE THE CONFIGURATION
Continue with the rest of the unit configuration using the Web Manager UI.
Some configuration options available to you at this point include the following:
- Factory reset the xPico unit to get it to a known configuration.
- Get the latest firmware version.
- Configure essential applications such as TruPort Serial, TruPort Socket or Ethernet to Wi-Fi bridge.
- Secure your device.
Warning
Keep your device secure. Please change the default SoftAP SSID password and administrator password before proceeding further. In the Web Manager, go to Network > ap0 > Link > Configuration to set the AP password. Go to User and select admin user to change the administrator password. Reboot the gateway and continue with the rest of the configuration.