Access CLI and Trouble Log over mux, configuring via XML
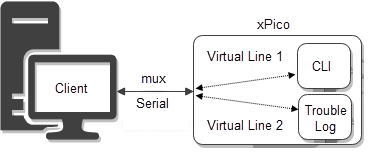
This example uses CLI to import XML configuration. The import configures Line 1 for mux, Virtual Line 1 for CLI, and Virtual Line 2 for the trouble log. It then shows how to use both those virtual lines over mux. Because it uses CLI to import the XML configuration, it assumes Line 1 is already enabled and using the Command Line protocol, as is default.
Step 1 - Import XML configuration
- Connect the xPico 600 to a PC using a serial cable.
- On the PC, open a terminal such as Tera Term and connect to the device using serial. This example uses Tera Term.
- Send
configto enter the config level. - Send
Line 1to enter the config Line 1 level. - Send
Flow Control Hardwareto set Flow Control to Hardware. Flow Control is required to import XML configuration.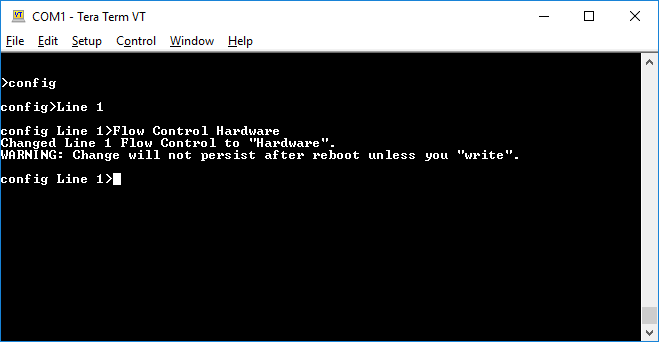
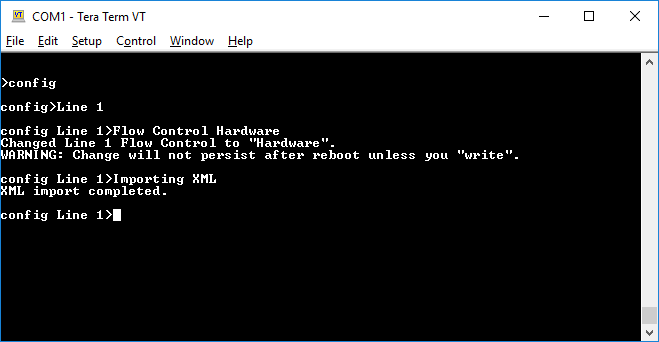
- Paste the following XML in Tera Term.
<?xml version="1.0" standalone="yes"?>
<!-- Automatically generated XML -->
<!DOCTYPE configrecord [
<!ELEMENT configrecord (configgroup+)>
<!ELEMENT configgroup (configitem+)>
<!ELEMENT configitem (value+)>
<!ELEMENT value (#PCDATA)>
<!ATTLIST configrecord version CDATA #IMPLIED>
<!ATTLIST configgroup name CDATA #IMPLIED>
<!ATTLIST configgroup instance CDATA #IMPLIED>
<!ATTLIST configitem name CDATA #IMPLIED>
<!ATTLIST configitem instance CDATA #IMPLIED>
<!ATTLIST value name CDATA #IMPLIED>
]>
<configrecord version = "0.1.0.1">
<configgroup name = "Line" instance = "1">
<configitem name = "Name">
<value></value>
</configitem>
<configitem name = "Interface">
<value>RS232</value>
</configitem>
<configitem name = "State">
<value>Enabled</value>
</configitem>
<configitem name = "Protocol">
<value>Mux</value>
</configitem>
<configitem name = "Baud Rate">
<value>9600 bits per second</value>
</configitem>
<configitem name = "Parity">
<value>None</value>
</configitem>
<configitem name = "Data Bits">
<value>8</value>
</configitem>
<configitem name = "Stop Bits">
<value>1</value>
</configitem>
<configitem name = "Flow Control">
<value>Hardware</value>
</configitem>
<configitem name = "Gap Timer">
<value><Four Character Periods></value>
</configitem>
<configitem name = "Threshold">
<value>56 bytes</value>
</configitem>
<configitem name = "Push">
<value></value>
</configitem>
</configgroup>
<configgroup name = "Line" instance = "Virtual_1">
<configitem name = "Name">
<value></value>
</configitem>
<configitem name = "State">
<value>Enabled</value>
</configitem>
<configitem name = "Protocol">
<value>Command Line</value>
</configitem>
<configitem name = "Gap Timer">
<value><Four Character Periods></value>
</configitem>
<configitem name = "Threshold">
<value>56 bytes</value>
</configitem>
<configitem name = "Push">
<value></value>
</configitem>
</configgroup>
<configgroup name = "Line" instance = "Virtual_2">
<configitem name = "Name">
<value></value>
</configitem>
<configitem name = "State">
<value>Enabled</value>
</configitem>
<configitem name = "Protocol">
<value>Trouble Log</value>
</configitem>
<configitem name = "Gap Timer">
<value><Four Character Periods></value>
</configitem>
<configitem name = "Threshold">
<value>56 bytes</value>
</configitem>
<configitem name = "Push">
<value></value>
</configitem>
</configgroup>
</configrecord>
Step 2 - Use mux to access CLI on Virtual Line 1
- Disconnect Tera Term and reconnect to the xPico 600 to access mux on Line 1.
- Enter
1v1to connect to Virtual Line 1 as instance 1. Note that mux does not echo input characters.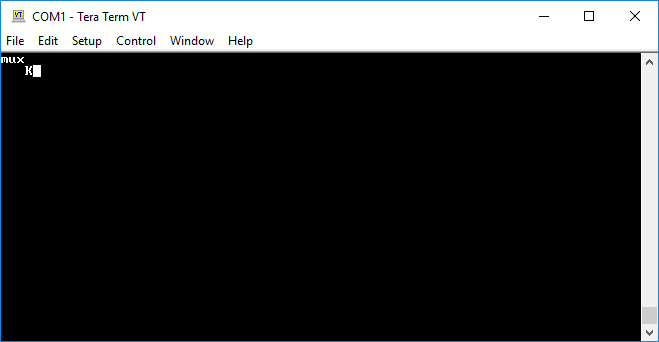
- Enter
1sb~to prepare to send data. The~is specified as the escape character.
- Enter
?~to prepare the?CLI command. The~followed by a newline terminates the data. Note that a newline is not being sent to the Virtual Line 1 because one isn't needed after the?command.
- Enter
1pto send the prepared data.
- Enter
1rb~2000to receive data. You will see the results of the?command.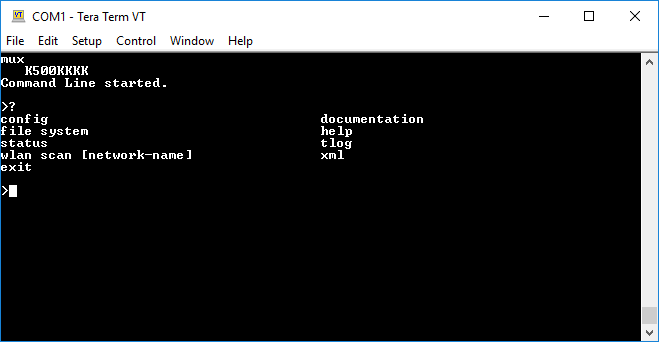
- Etner
1sb~to prepare to send data again.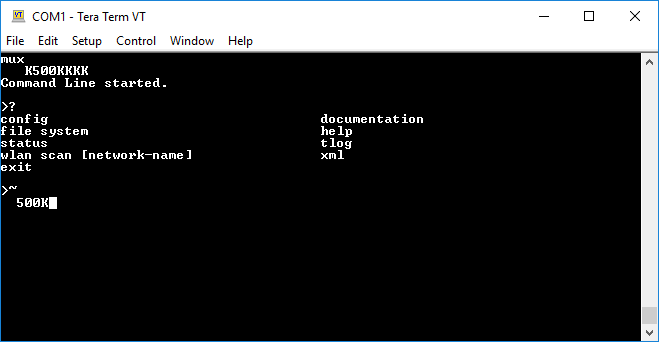
- Enter
configto prepare theconfigcommand with a newline. Unlike the?command, theconfigcommand requires a newline. - Enter
~to send the escape character and indicate the end of the data being prepared.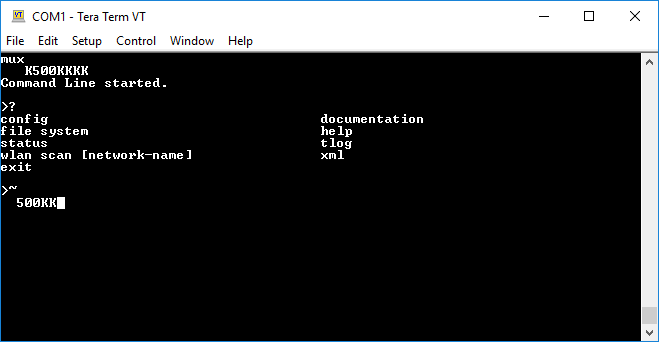
- Enter
1pto send the prepared data.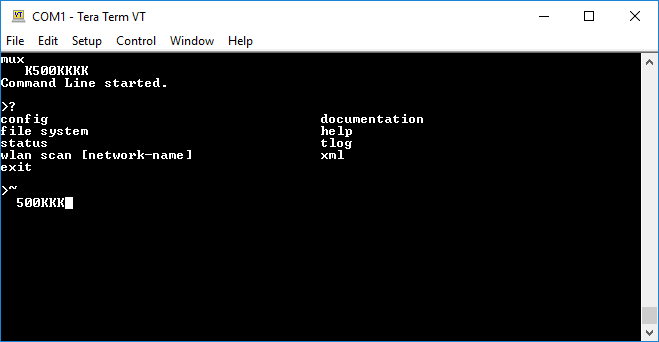
- Enter
1rb~2000to receive data. You can repeat steps 7 through 10 to send CLI commands over mux to the Command Line on Virtual Line 1.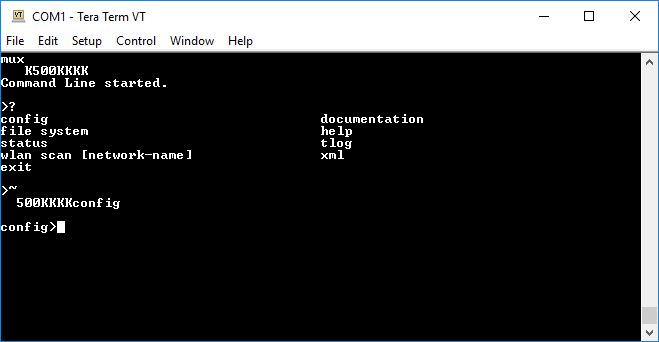
Step 3 - Use mux to access the trouble log on Virtual Line 2
- Enter
2v2to connect to Virtual Line 2 as instance 2.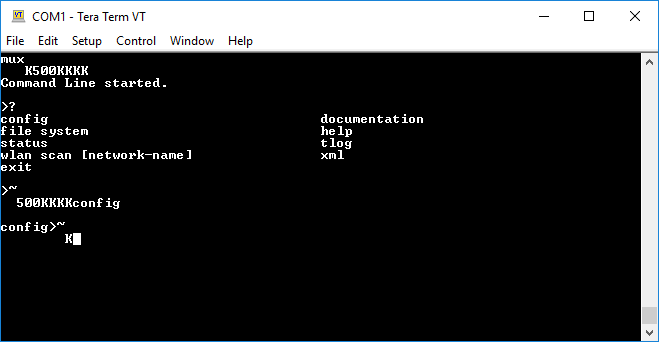
- Enter
2rb~2000to receive data from the trouble log.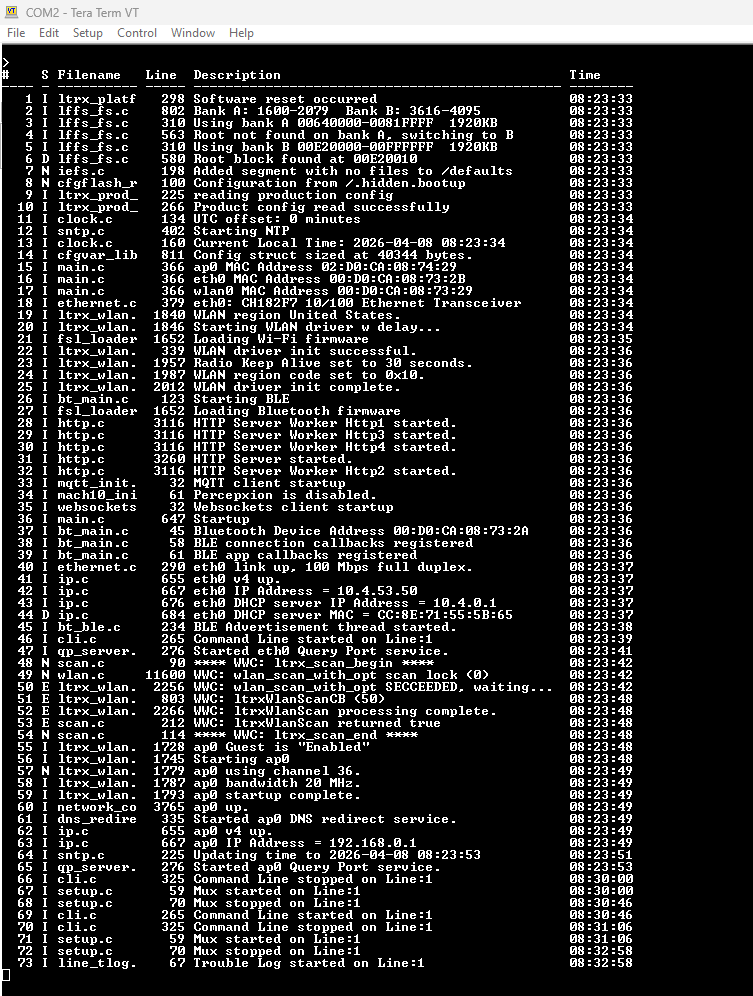
- If there is more data, repeat step 2 as necessary to receive additional data from the trouble log.